
The world of 3D design and modeling can seem confusing and challenging at first, especially because there are so many options for 3D software packages out there. Maya, 3D Studio Max, Blender, and Cinema 4D, just to name a few. When it comes to modeling, all of these programs are pretty similar. While there may be some differences here and there, if you can model in one, you can likely model in them all.
Make no mistake, this blog isn’t a modeling tutorial. It is, however, a general overview of some basic modeling tools and tips that have helped me over the years and are sure to help you as well!
I typically use Cinema 4D (C4D) as my primary 3D package, and like the other packages out there, it has a lot of modeling tools to choose from. Just note that some of the menus and terminology may be a bit different for you.
Box Modeling
First, let’s talk about box modeling/polygon modeling. To me, this is the most basic form of modeling you typically start with. For instance, you can start with something like a simple box and from there, you can begin to tweak it into new shapes by extruding and inner extruding faces, creating new shapes, and then maybe pushing and pulling specific vertices until you get the exact shape you’re after. There are so many polygon tools to use, but these are some that I find myself using the most:
Extrude Tool: Extrude tool is pretty simple to use. It extrudes selected points, edges, or polygons.
Extrude Inner: Works very similarly to the extrude tool, although the selected polygons are extruded inwards.
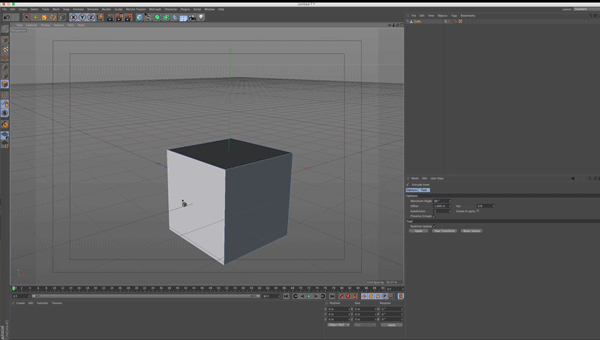
Knife Tool: The knife tool is an awesome tool for polygon modeling; it allows you to cut polygon objects and spline objects, and it has many parameters to adjust to get the right kind of cut you need.
Here is an example of a super basic model of a picture frame using basic box modeling.
At the very end, I also used something called the bevel tool in C4D that helps creates smooth, rounded edges. Smoothing and rounding these edges is extremely important to do on most corners. If you think about it, most things in real life don’t have perfectly hard, square edges. Now, there are many more tools than this that you’ll probably need to use, but when it comes to box modeling/polygon modeling, those noted above will likely be your primary tools.
Generator Modeling
Generator modeling is another form of 3D modeling. (Note that it’s probably called something different in other 3D programs, but more than likely, it will have similar capabilities.)

Within the generator tab in C4D, there are six sub tools that can help 3D modelers create a wide variety of models. Four out of the six tools use paths or splines to create objects, and you can create the path or splines inside your 3D package. Or with C4D, you can also create the path inside Adobe Illustrator.
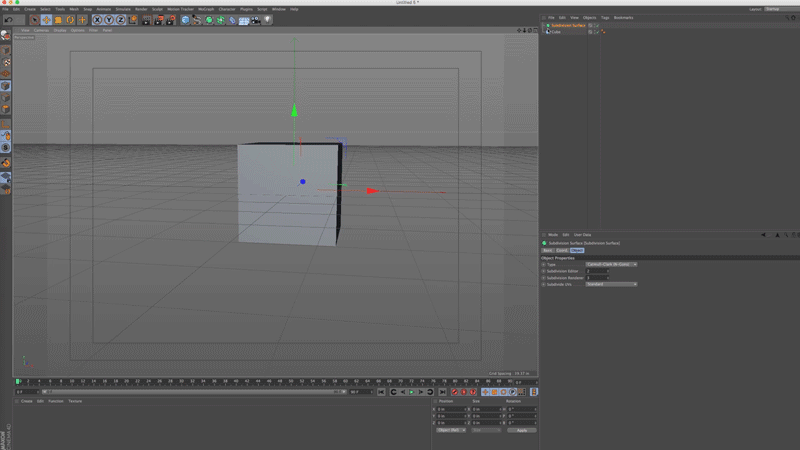
Subdivision Surface Object: This object will basically smooth out your shapes, creating a smoother and cleaner surface.
Extrude Object: The extrude object extrudes splines into objects with depth.
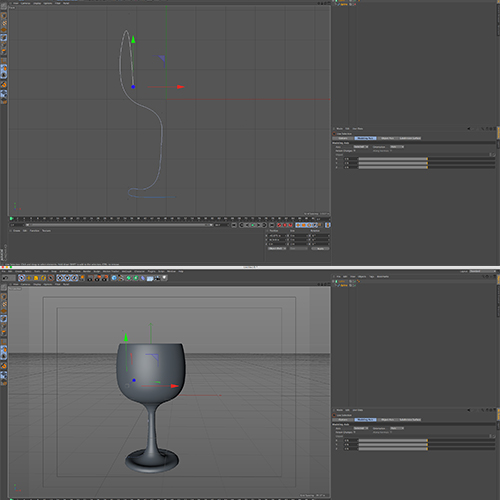
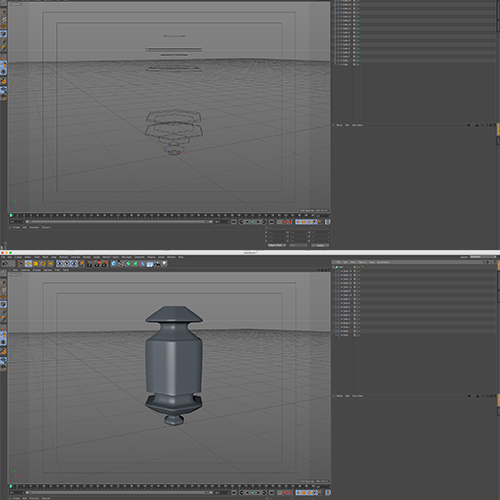
Lathe Object: The lathe object rotates a spline around the y-axis. Fun tip, this is a super easy way to make glasses! (the top image is the path or spline; bottom image is what it looks like when the lathe is turned on)
Loft Object: The loft object stretches skin over two or more splines; the order of the splines determines how the splines are connected.
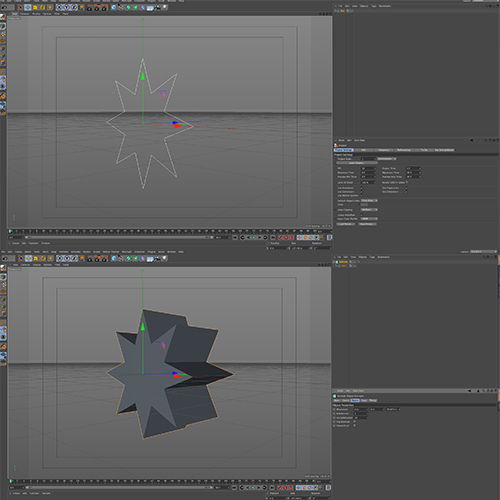
Sweep Object: Sweep objects require at least two splines; the first spline is the shape and follows the path of the second spline. (fig 6: the top image before the sweep object is turned on; the bottom image shows once it’s turned on).
Bezier Object: The bezier object is a bit different from the other generators. It doesn’t require another object for you to create anything. Instead, the bezier object stretches a surface over bezier curves in both the x and y directions. The control points of these curves pull on the surface like a magnet, leaving you with a smooth curved plane, useful for making things like sails, car hoods, and air plane wings.
Modeling Tips
Keep it simple! Think about the object you’re trying to model in its most basic form. At first it’s going to look rough. And most likely like nothing you want it to look like in the end, but eventually if you keep going, your object will begin to emerge!
With that being said, don’t get ahead of yourself. Keep your shapes as simple as possible. Start by building out its rough shape before you begin to add more edges and faces. Once you add all the extra detail, it’ll be a nightmare to manipulate down the road if you need to make simple changes. Below are three tips that are sure to be real life savers as you get into your next project.
Tip #1: Sketch in orthographic view
I don’t know about everyone else, but this tip helps me out a lot. Drawing in 3D perspective is just not my cup of tea. Instead what I do is I sketch in orthographic views, i.e. front, side, and top. If I’m working off of a reference image that doesn’t have these views available to me, I try to picture it in these views and sketch out what that shape would look like in each view. Then I begin to model the shape in 3D and I interpolate the rest.
Tip #2: Use quads as much as possible
Try to make sure that your polygons are quads and not n-gons. Similarly, use triangles as little as possible. Quad sided polygons subdivide better and make UV mapping and texturing much simpler.
Tip #3: Save in increments
Saving incrementally will save you a lot of headaches throughout the entire project. I can’t tell you how many times I’ve gone down a modeling road only to find out it’s just not going to work out how I had originally planned. By saving in increments throughout your project, you’ll be able to undo and go back to the point in which you went down the wrong path. If you don’t do this, you’ll find yourself unable to get back to that perfect point, leaving you in between a rock and hard place.
Conclusion
Learning how to 3D model can be daunting at first. But just like all things, understanding the basics is crucial and will help you become a better modeler in no time!