The Complete Guide to Motion Graphics and VFX Terms
Nearly every industry has its own unique set of terms and lingo that allow others in the industry to communicate in an easy and seamless manner. Take web developers, for example. To an outsider, the acronyms and terms they’re constantly spewing out might as well be another language. But to their peers, it’s everyday-speak.
Motion graphics, visual effects, and video editing is no different.
When I first started in this field, the terms confused me a bit. However, over time they’ve become part of my everyday vocabulary here at Zion & Zion. Throughout this article, I’ll explain the most common terms in motion graphics, visual effects, and video editing today. Together, these terms make up the “lingo” everyone in the industry uses. While most of the terms are universal, I spend the majority of my time working in /After Effects and /Cinema 4D, so there may be instances where the terms are specific to these programs.
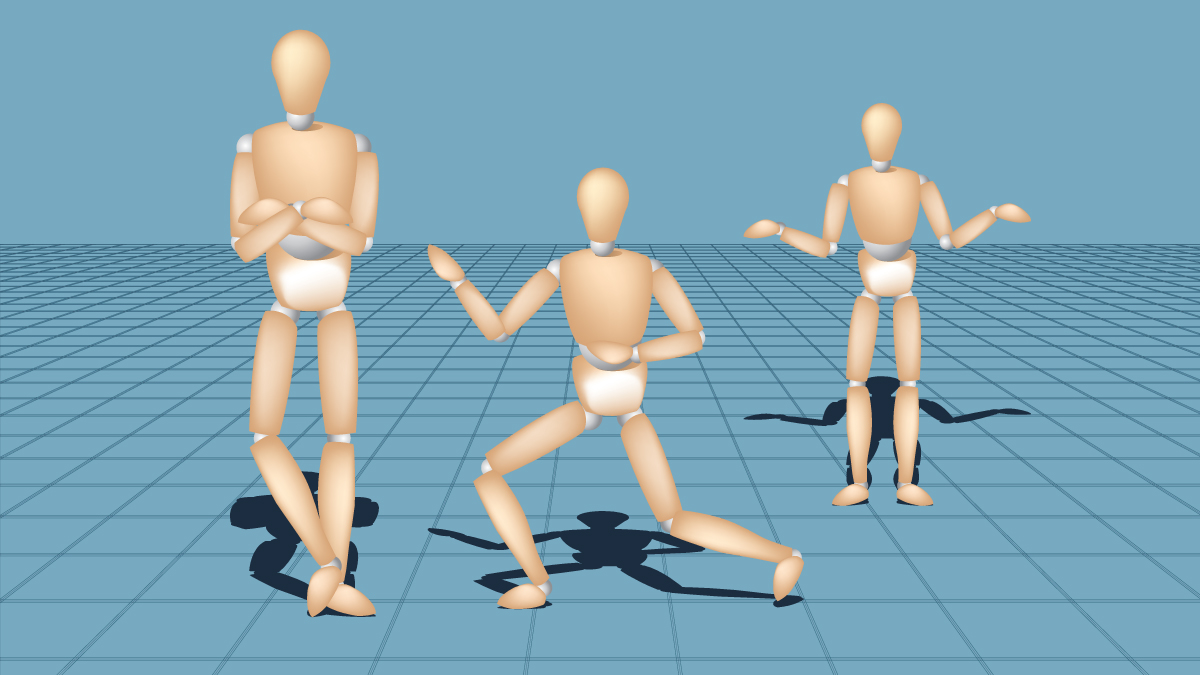
12 Principles of Animation
This is a term created by Walt Disney Studio animators describing how we can produce the illusion of a character following the basic laws of physics. It’s a hefty read and quite a large subject. But if you would like to learn more, I highly recommend checking out their Wikipedia page. There is also this fun video made by Cento Lodigiani explaining, in a visual way, these 12 principles.
The illusion of life from cento lodigiani on Vimeo.
Alpha Channel
Alpha channel is the transparency data of the image for compositing for later use. If you need to maintain the alpha channel, then make sure when you export it that you select a codec that can maintain an alpha channel. Typically, you will see it as something like: RGBA.
Aspect Ratio
Aspect ratio is the proportion between its width and height. For example, when standard definition was the uniformed aspect ratio, it was a 4:3 aspect ratio. 4:3 means the picture is 4 units wide for every 3 units in height. Today’s standard is a 16:9 aspect ratio.
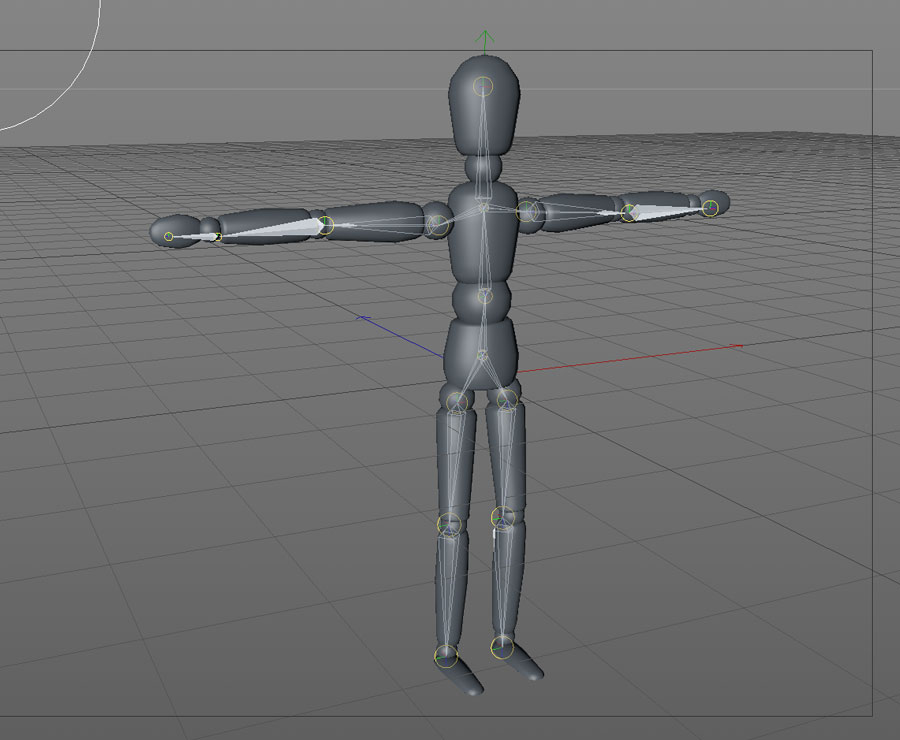
Bone
An invisible object that is placed inside a character or object that you need to control. When the bone is moved, it will move the mesh, or whatever the bone is parented to. If you would like to know more about how to bone an object in After Effects, check out a previous blog post of mine detailing the process.
B-Roll
Extra footage taken that has no expected purpose, but is used to fill visuals and help with transitioning and cutaways.
Camera Mapping
Camera mapping can also be called camera projection. It’s a quick and easy way to achieve a 3D look without all the complex modeling. You take a flat image and project it back onto a basic 3D model to give it some depth.
Chroma
Refers to the color of your footage and is separated out into red, green, and blue channels.
Codec
A codec is a computer file that uses mathematics to convert light and sound into digital information, which is stored and later played back by a digital video player.
Dynamics
Dynamics is a type of animation where the animation is simulated instead of key framed. The animation will be simulated as accurately as possible based on the reference, using position scale and rotation in the timeline.
Ease In/Ease Out
This term describes types of animation curves. An ease in animation curve (box 2) accelerates slowly, but picks up speed at the end. An ease out animation curve (box 1) starts fast and decelerates at the end. The figure here shows what both types of animation curves look like.

Expression
Expression is a type of script that helps animators and visual effects artists automate the animation process.
F-Curve/Graph Editor
Depending on what software you’re in, your animation curve editor will be named differently. But no matter what, they have the same function. Your curve editor is where the animator controls the interpolation between key frames, and the curved lines represent the speed change over time.
HPB Rotation
In Cinema 4D, rotation is not determined by XYZ axis, but instead by a HPB axis—which stands for heading, pitch, and bank. Pitch is up and down, similar to the Y axis. Bank is left and right, similar to the x axis. Finally, heading is relative to either the coordinates of the parent (if your object has one) or the world coordinate.
Interpolation
The process in which the software interrupts the changing values between two key frames.
Keying/Chroma Key
This is the process of removing the colored background, which is typically green or blue, from a subject or object and then later compositing this with another picture.
Luma Channel
Luma channel represents the brightness of the image, so think the black and white portion of a photo or image.
Material/Shader
Materials control how your 3D object looks. This doesn’t involve the actual model itself. Materials control things like color, bump, glow, and reflectance.
Matte
Matte is a moving mask used as a way to hide or show something inside of After Effects. Masking is determined by either the alpha channel or luma values.
Mocha
Mocha is a tracking software that is bundled together with After Effects. It uses planar tracking to help get better tracks than the standard point tracker inside After Effects can.
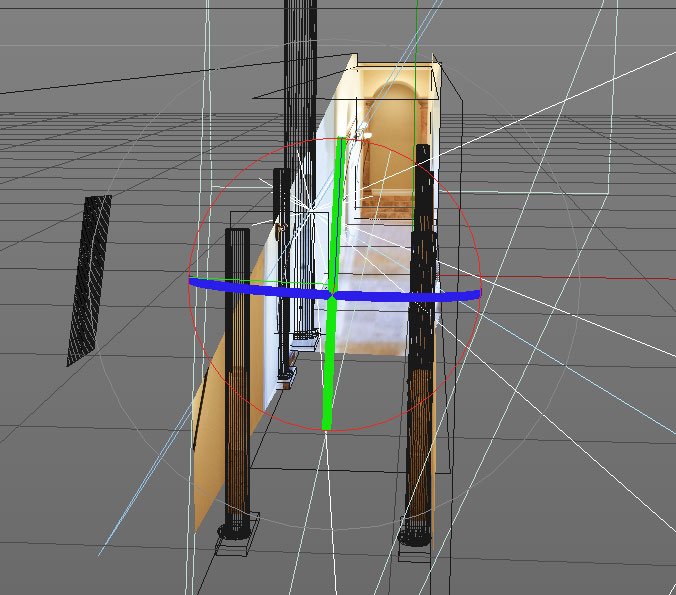
Motion Tracking/Camera Tracking
Motion tracking is the act of obtaining the position, scale, and rotation data from live action footage. This can then later be attached to another object or footage to integrate them together, and make it look natural in the footage. Camera tracking works the same way. It extracts a ton of data from footage to create a replica, fake 3D camera that allows you to composite with.
Nested Comps
A nested composition is a composition inside of another composition. This allows you to place effects or animation in one comp, then once it’s nested you can animate your animated comp! Think inception: a dream within a dream.
Onion Skinning
A traditional 2D animation technique that allows you to see multiple frames at the same time. This will help you interpret the next frame in the animation sequence.
Parent
Parenting is used to link layers or objects to a single layer or object. Changing the values of the parent object will automatically affect all of the children.
Puppet Tool
Puppet Tool is an After Effects tool that allows you to place pins on an asset that you can later deform and key frame.
Rotoscoping
This is the backbone of all visual effects (VFX) work. It’s the process of tracing over an object in live action footage to cut out the object, and allow for VFX compositing.

Spline
Spline is a 2D curved drawing that has no visible qualities when rendered by itself, but when combined with certain tools inside of cinema 4D or other 3D packages, can be used for modeling objects.
Title Safe
This describes the area of a TV in which graphics or images can be seen without being cut off.
Vertex
Vertex describes the points or corners of a polygon model.
Z-Space
Obviously in 3D animation, 3D objects can move in 3D space. So instead of just X and Y axes, we also have z axes, also known as z-space.
Moving Forward
By getting more familiar with these basic industry terms, it should become easier for you to understand and communicate with others in the field when discussing motion graphics, visual effects, and video editing.