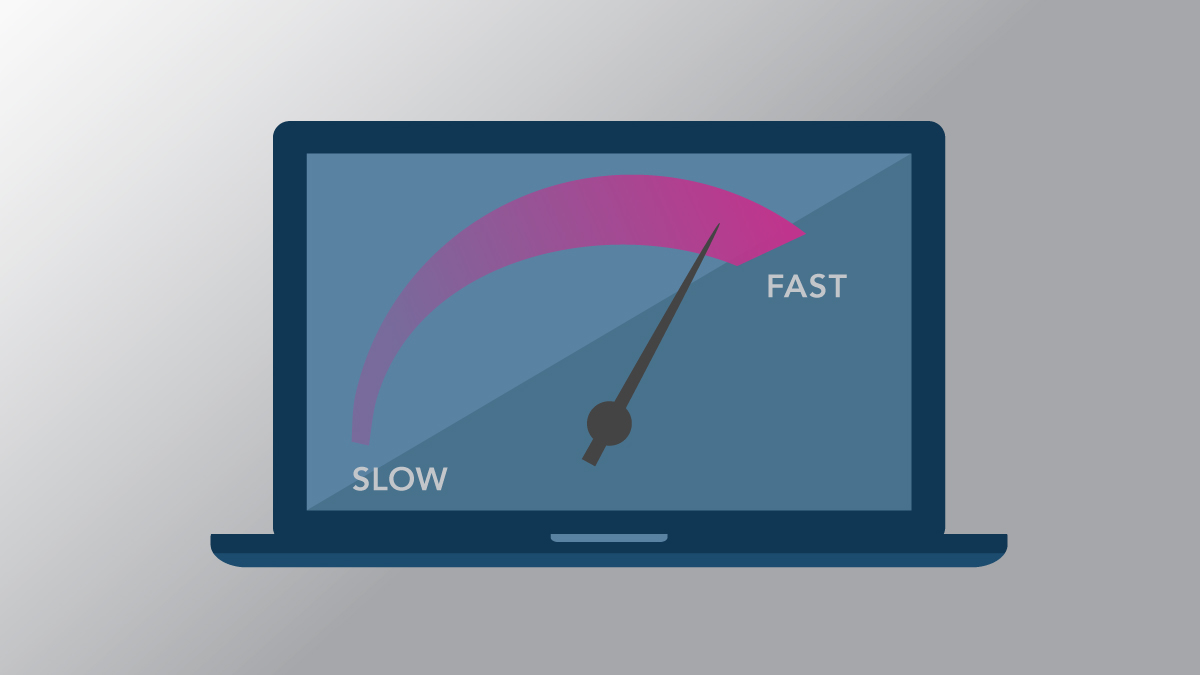
Why a Fast Website is Important to Your Business
A slow website can be the result of a number of things, but most importantly, a slow website means your users are waiting for multiple seconds, seconds that may seem like hours, all because your site’s performance is not at the level it should be. In an industry where fractions of seconds really are the benchmark, it’s so important to have an optimized site. In a recent report by Amazon, every 100ms in latency cost them 1% in sales. Now, regardless of whether you’re a global giant like Amazon, or a small local business, speeding up your website is going to help improve your bottom line.
As an advocate for website performance, approaching the idea of optimizing a website can sometimes be a daunting task, but remember, website optimization is about the journey, not the destination, so break it up in to manageable pieces. First thing is to get a benchmark for yourself. I typically start off by running a report on the site using a few different tools, such as /Web Page Test, /Google’s PageSpeed Insights, or /GTmetrix. Once you have a report, you now have a place to start. Here’s a list of optimization tips you can do to help improve your grade, and get your site to an optimized state.
Compress Images

Compressing images is one of the biggest areas that is often overlooked and more often than not, this is the largest culprit for slow load times. When users have to download large uncompressed images, all of that plays a role in increased load times. In addition to slowing the load time, you’re eating up your mobile users data by having them download large images.
There are many tools you can use to compress images, but depending on the format, you can select what works best for you. Some compiler applications can do it directly for you like CodeKit if you’re a Mac user, or more notable software like /Photoshop. For quickly compressing /PNGs, I like to use TinyPng, which makes it simple with drag and drop ability, allowing you to quickly drop your image image into the app, and having the app do the dirty work for you, spitting out a compressed image for you to then download and work with.
Scaling Images

In addition to compressing the image, you also want to make sure it’s properly scaled for where it’s going. Even though you can scale large images with /CSS, it’s something you don’t want to do, as users will still have to load the large image, as shown in the screenshot of what not to do.
Minify and Merge CSS / Javascript
Minifying and merging your CSS and JavaScript serves two major purposes when optimizing your site. One, it decreases the file size that users need to download, and two, it reduces the number of http requests needed. I will talk about this in more detail later on in this post. Using a tool such as Codekit makes doing all of this very simple, but if you don’t have Codekit, here is a list of tools you can use to easily merge and minify your CSS and JS.
Defer Loading JavaScript
JavaScript is often the culprit for having your site visually take a while to appear. So for those times where you’re just seeing a blank white screen, or a partially loaded website, you can thank JavaScript for taking its sweet time to load. There are two common solutions to this problem. First, you can put the external scripts at the bottom of the page. Second, you can defer loading the JavaScript. Deferring the JavaScript basically waits for your website to load, then loads all the external JS. This will give a snappy response of visuals for the user, which at the very least, makes the site feel faster, even if it doesn’t always load faster. In this post about /deferring load times, written by Patrick Sexton, he goes over more thoroughly the step-by-step process of where to begin with deferring JavaScript.
Enable GZIP Compression
Moving onto server optimizations; first on the list is GZIP Compression. GZIP Compression can typically save around 50-70% in file size reduction, which means less bandwidth usage and downloading from your users. In this article by Google about speeding up your site, they talk about the technical details of how GZIP compression actually works with the server, and what it does to increase site optimization. GZIP Compression can be enabled in a couple ways, the most common being through the .htaccess file. /Feedthebot.com has a great resource on GZIP compression where they discuss more on how to enable GZIP Compression through the server config files for Apache or Linux, or simply through the .htaccess file. To check if your site is currently using GZIP Compression, you can use this /Feed the Bot tool.
Enable Browser Caching
When users return to your site, there are always going to be elements that don’t change, for example, your logo. Without caching, every time a user visits your site, they need to download your logo. This may not seem like a big deal, especially after you’ve optimized the image, but to take your site to the next level, making it smart on what the site keeps downloaded locally on the user’s computer can really help improve the overall load time. This way, every time a user comes back to visit your site, they don’t need to download a majority of the content, resulting in a much faster load time, and thus, a happier user.
To enable browser caching, simply add the following to your .htaccess file. If after adding this to your .htaccess file it does not work, you may need to check that mod_expires is enabled on your server.
## EXPIRES CACHING ##
<IfModule mod_expires.c>
ExpiresActive On
ExpiresByType image/jpg “access plus 1 year”
ExpiresByType image/jpeg “access plus 1 year”
ExpiresByType image/gif “access plus 1 year”
ExpiresByType image/png “access plus 1 year”
ExpiresByType text/css “access plus 1 month”
ExpiresByType application/pdf “access plus 1 month”
ExpiresByType text/x-javascript “access plus 1 month”
ExpiresByType application/x-shockwave-flash “access plus 1 month”
ExpiresByType image/x-icon “access plus 1 year”
ExpiresDefault “access plus 2 days”
</IfModule>
## EXPIRES CACHING ##
Minimize HTTP Request
HTTP Requests happen for every individual file that is on the page the user is loading. So each CSS file, JavaScript file, and image are all loaded individually. Each request is what defines your site’s load time, and adds to it. So as mentioned previously in the minifying and merging CSS and JS section, merging your files will reduce the number of request made by the user, which in turn increases load times. This is important as the connection to the server isn’t the greatest; the fewer number of connections that need to be made, the greater of an impact it will have. Images can also be merged in the form of /sprites, which takes multiple images and puts them into one file. This is a great way to reduce the number of HTTP Requests on your website.
Conclusion
Optimizing a website can be a daunting task, but breaking it up into smaller, more manageable pieces will help you slowly see the size go from low grades to high. An important philosophy to remember about optimizing a website is that it’s not about the destination, it’s about the journey you take. Each step that helps improve the site, even if it is a minor improvement, will ultimately lead to a faster website with much shorter load times. It’s not something that will happen overnight, but through continuous effort and testing, your load times should go down, and your conversions should go up.